
Dec 3, 2024
Wheel throwing for the beginner
If you've ever thought about throwing clay on a wheel, you're in for a fun and rewarding experience. It looks exciting, right? If you have access to a pottery wheel and some clay, it could be the start of a fantastic hobby or even a business. Start by choosing clay that’s not too soft, preferably with some grog for added texture. As a beginner, 500-600 grams is a good starting point.
Before throwing, make sure to wedge the clay to remove air bubbles and ensure a consistent texture. If you're using reclaimed clay, this step is especially crucial. Place the clay ball in the center of the wheel head and pat it down firmly. Start the wheel, keeping your hands wet, and apply even pressure from the top and sides to center the clay. When there's no wobble, you're ready to start throwing.
To open the clay, push down in the center with a wet finger until you reach the desired depth, then widen the opening by pulling the sides back. To raise the walls, link your hands for stability and apply gentle, even pressure from the inside and outside simultaneously. Repeat this process until you've reached the height you want. Keep the walls even in thickness, and be careful not to make them too thin.
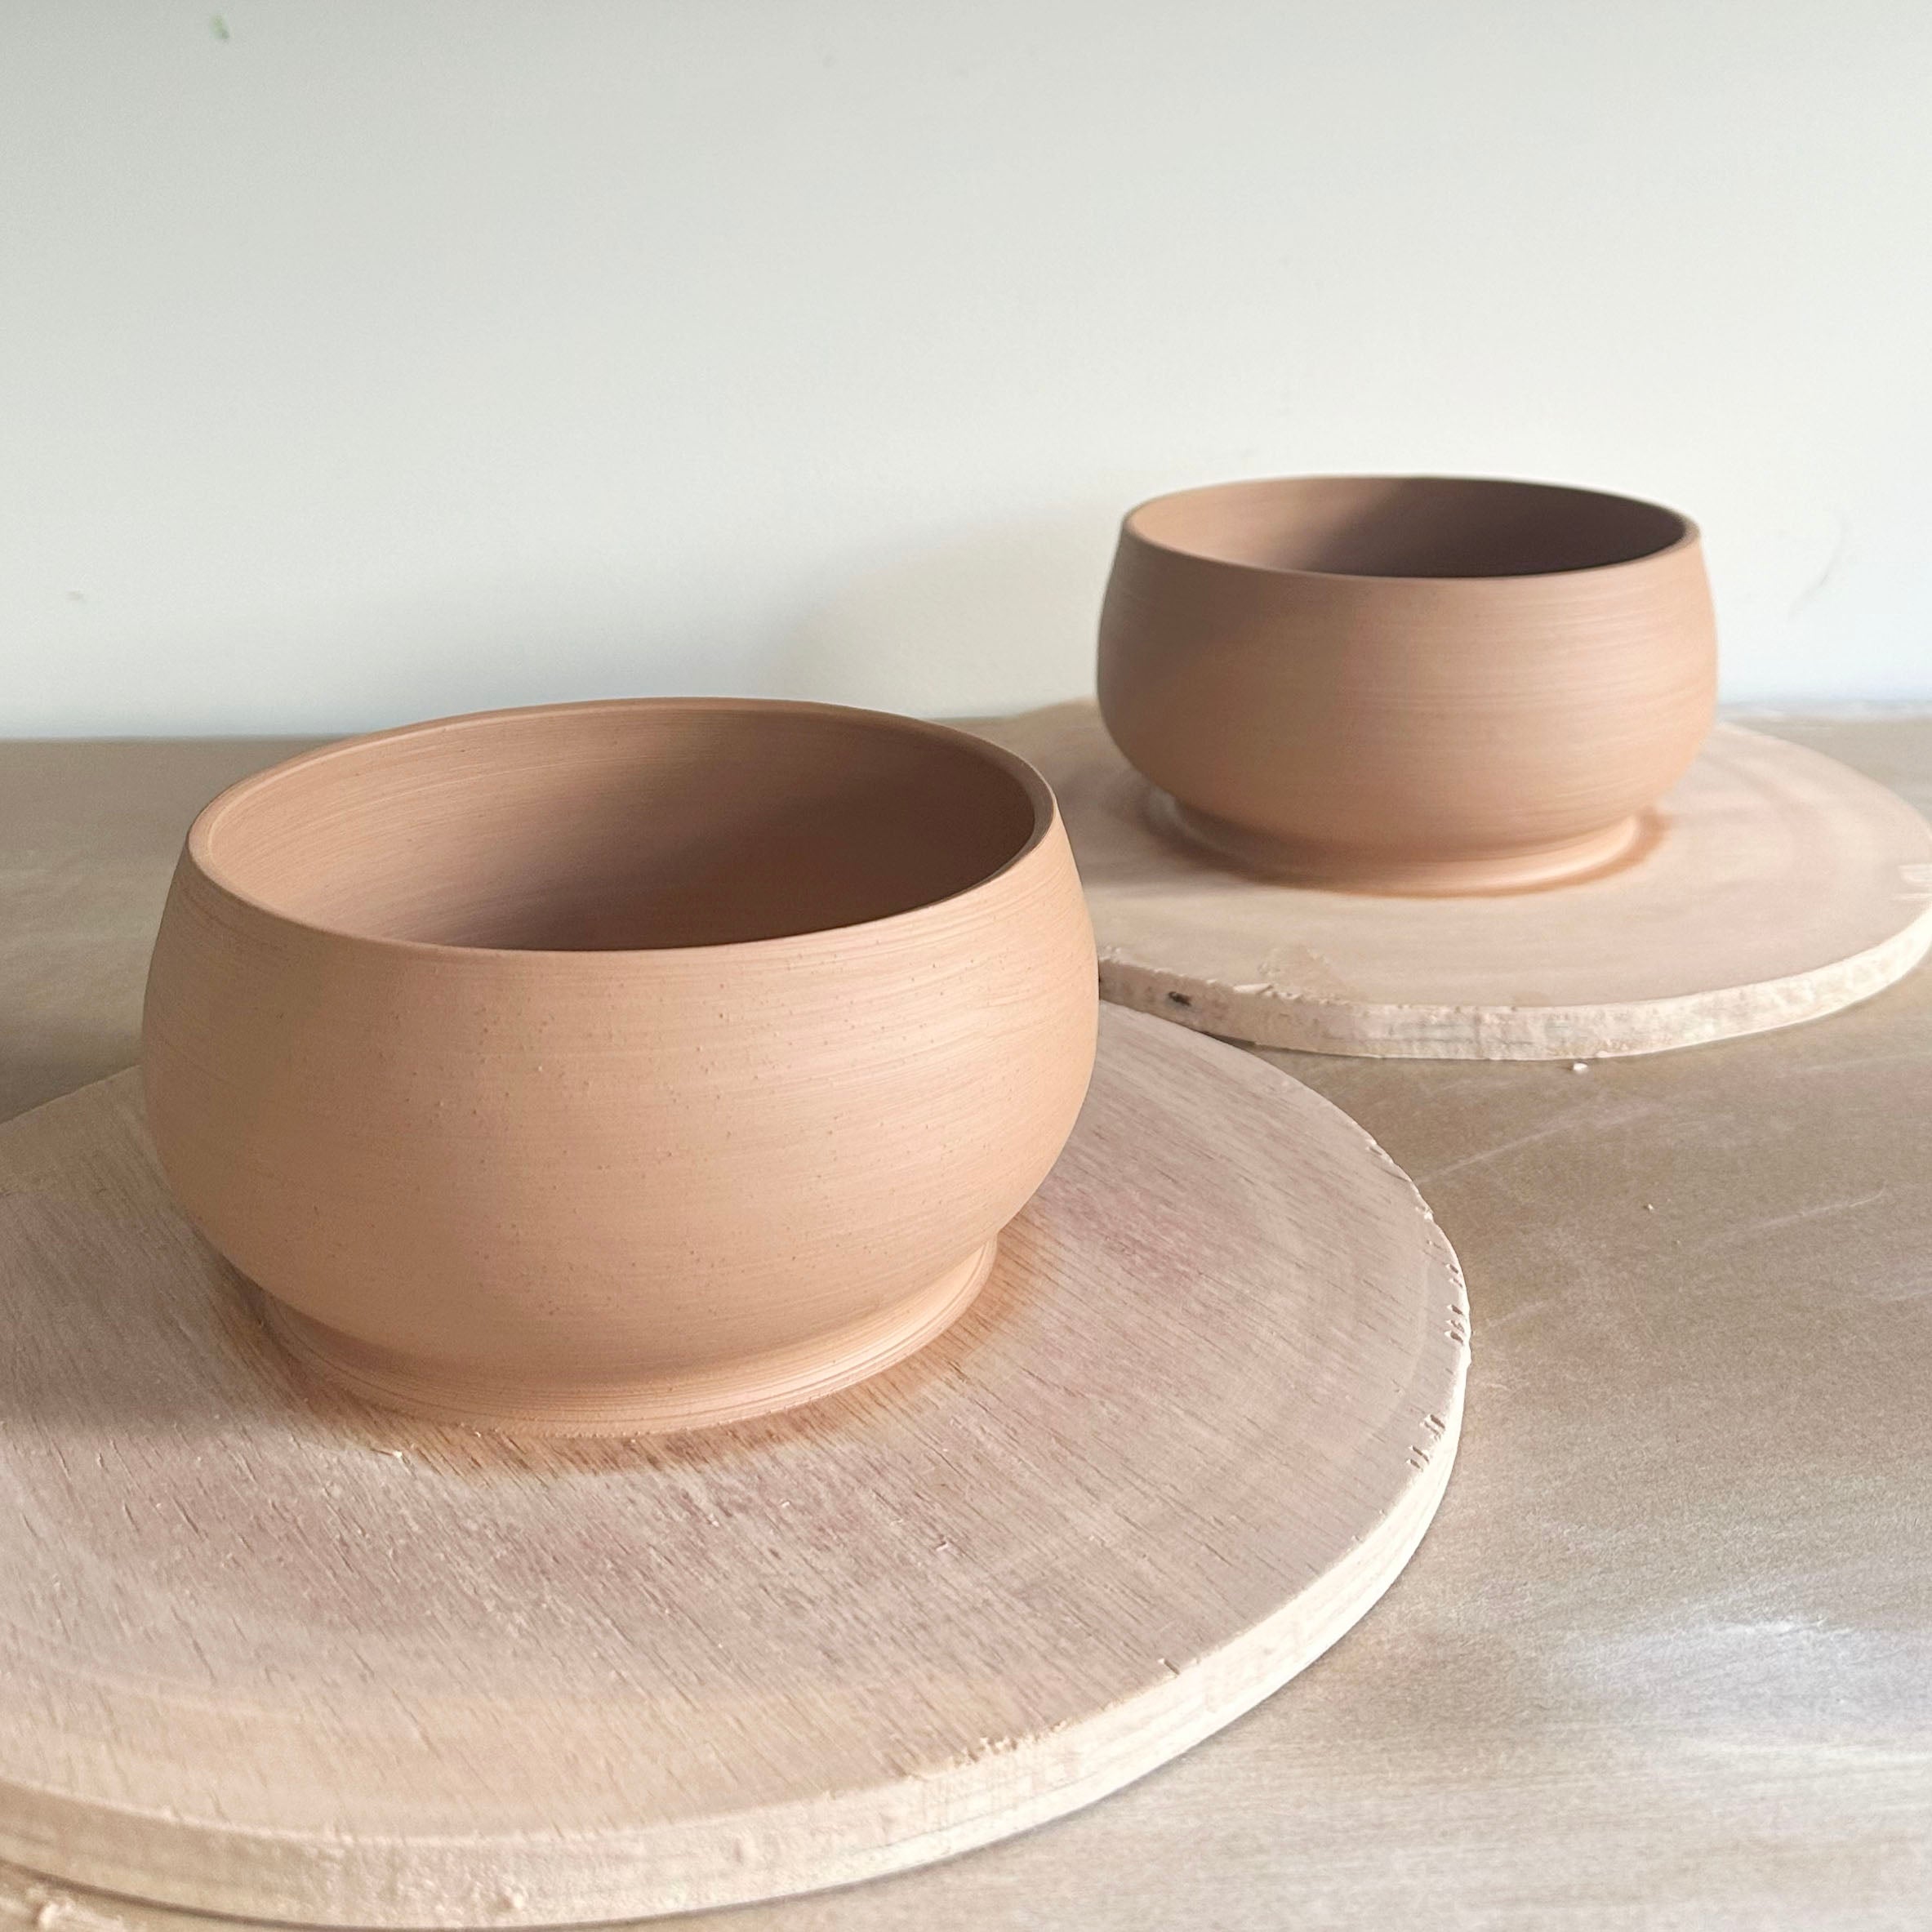
For shaping, use a sponge or rib to compress the base and smooth the walls. To bring the shape inwards, apply pressure with the outside finger above the inside finger. To expand outwards, reverse the pressure. You can also "collar" the clay to adjust its shape. Use a trimming tool to remove excess clay from the bottom of the pot.
If you're using a bat, leave the pot on it for about 24 hours; it should pop off when dry. If you threw directly on the wheel head, use a wire to cut the pot free and lift it onto a wooden bat. After 24 hours, the piece should be leather-hard, ready for trimming. Secure it on the wheel head and use clay to hold it in place while you trim the base. Once that's done, let the pot dry completely before bisque firing. Once bisque-fired, it's ready for glazing and a final glaze firing.
For more detailed guidance, check out YouTube videos that cover specific techniques, like centering, throwing, and trimming.
Enjoy your time at the wheel!